Lesson
Design Your Email Layout
Build Your Email Structure
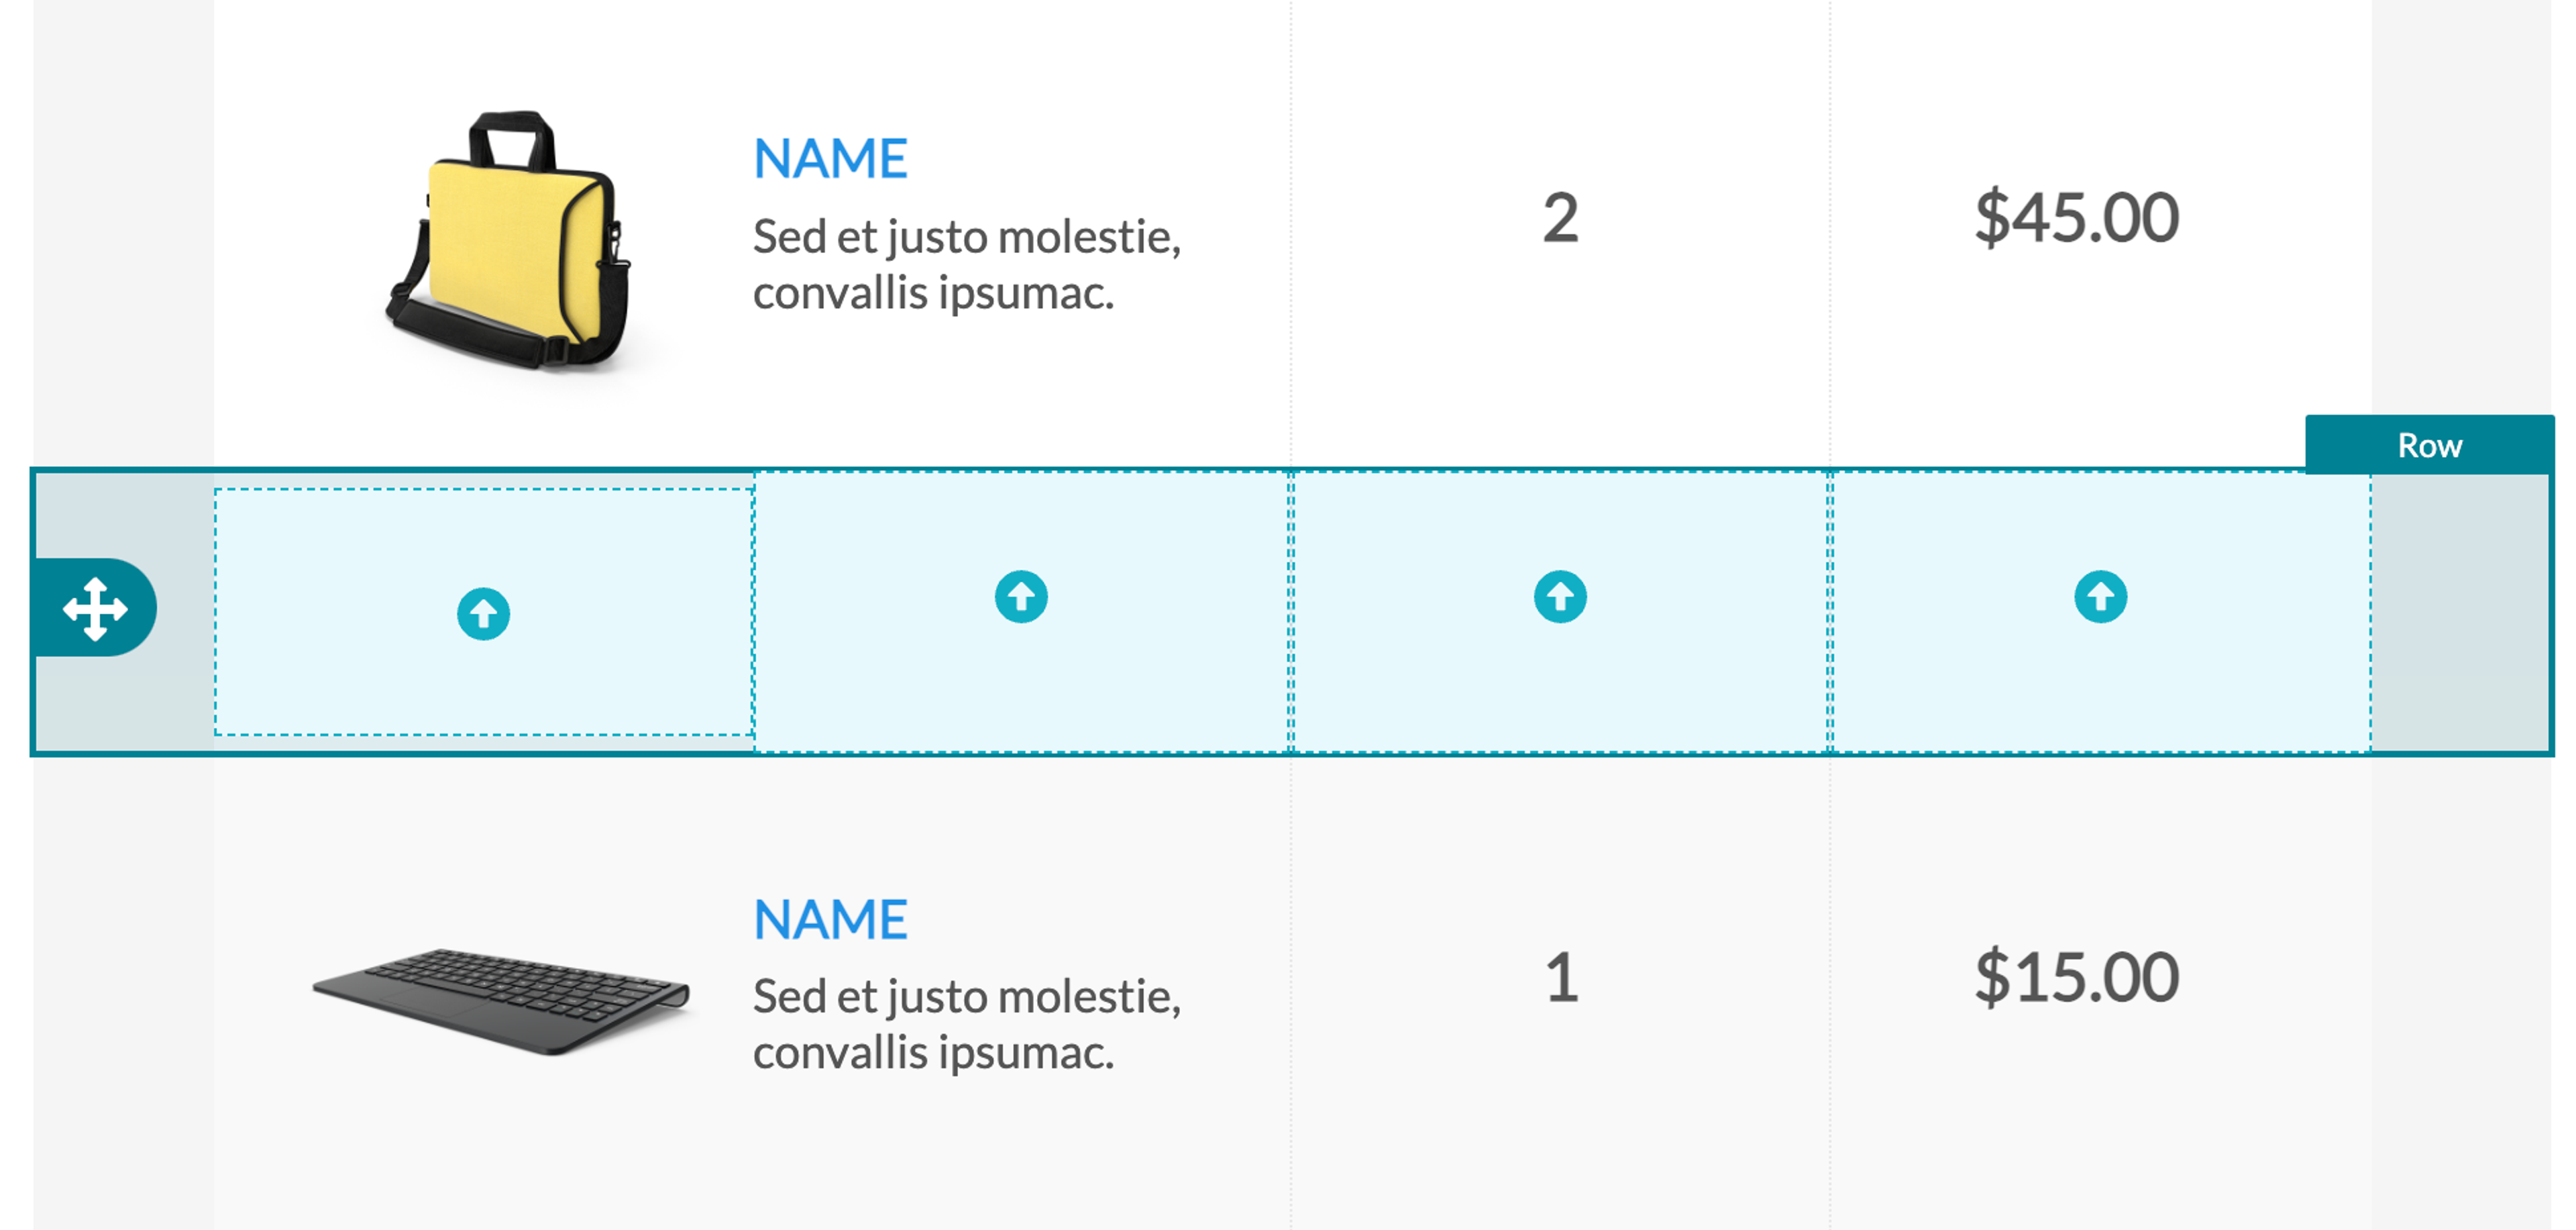
You'll structure your email by creating a series of rows. Each row contains one or more columns. You will place editor blocks into these columns to add content to your email.
Rows
In the Email Drag & Drop Editor, rows represent the structure of the email content. A row is a horizontal container that contains columns. Columns are what ultimately are filled with content to create your email.
You can add or remove rows to adjust the structure of your email. The row selector gives you a choice of rows with different numbers and distributions of columns. You can always adjust a row later to add columns or change how they're laid out.
Columns
Each row can have one or more columns to split the content into smaller sections. Columns let you create multiple content areas side-by-side in your email.
A single column in a row can contain multiple blocks that will stack on top of one another.

Column Style Settings
You can adjust column style settings for each, individual column. To change the background color of the column, adjust the padding, or add a border:
- Click a row to open the Row Properties section of the editing panel on the right-hand side of the Drag & Drop Editor.
- Click on the column you want to edit in the Columns Structure section.
- Adjust your column settings as desired.
The Column Background color setting will override all other background colors.